

Hey there! As a supplier of rotary distributors, I'm super excited to walk you through the installation steps for these nifty machines. Rotary distributors are essential in various industries, from feed processing to powder handling. They help in evenly distributing materials to multiple destinations, making the whole process more efficient. So, let's get started with the installation!
Step 1: Prepare the Site
First things first, you need to pick the right spot for your rotary distributor. It should be a flat and stable surface that can support the weight of the machine. Make sure there's enough space around it for easy access and maintenance. You don't want to end up in a tight spot where you can't reach all the parts.
Also, check the environment. If it's a dusty area, you might want to consider some additional protection for the distributor. And of course, ensure that there are no obstructions in the way of the inlet and outlet pipes. This will help the materials flow smoothly through the machine.
Step 2: Unpack and Inspect
Once you've got the perfect spot, it's time to unpack the rotary distributor. Carefully remove all the packaging materials and give the machine a thorough inspection. Look for any signs of damage during transit, like dents, scratches, or loose parts. If you find anything, make sure to contact us right away. We'll sort it out for you.
While you're at it, check the components that come with the distributor. You should have the main body, the motor, the inlet and outlet pipes, and all the necessary bolts and nuts. Make sure everything is there and in good condition.
Step 3: Mount the Rotary Distributor
Now it's time to mount the distributor on the prepared site. Use the bolts and nuts provided to secure it firmly to the surface. Make sure it's level and aligned correctly. You can use a spirit level to check if it's perfectly horizontal. This is important because an unevenly mounted distributor can cause problems with the material flow and put extra stress on the machine.
Once it's mounted, double - check the tightness of all the bolts. You don't want them to come loose during operation.
Step 4: Connect the Inlet and Outlet Pipes
Next up, it's time to connect the inlet and outlet pipes. The inlet pipe is where the material will enter the distributor, and the outlet pipes are where it will be distributed to different destinations.
Start by connecting the inlet pipe to the corresponding port on the distributor. Use the appropriate gaskets to ensure a tight seal. This will prevent any leaks and make sure that all the material goes into the machine.
Then, connect the outlet pipes to their respective ports. Make sure they are properly aligned and tightened. You can use a wrench to make sure the connections are secure.
Step 5: Electrical Connection
The rotary distributor is powered by an electric motor, so you need to make the electrical connection. Before you start, make sure the power supply is turned off to avoid any accidents.
Connect the motor wires to the power source according to the wiring diagram provided in the user manual. If you're not confident about doing this yourself, it's best to hire a qualified electrician. They'll make sure the connection is safe and proper.
Once the electrical connection is made, double - check all the wires to make sure they are not loose or damaged.
Step 6: Test Run
After all the installation steps are completed, it's time for a test run. Turn on the power supply and start the rotary distributor. Listen for any unusual noises or vibrations. If you hear anything strange, turn off the machine immediately and check for the cause.
Observe the material flow through the inlet and outlet pipes. Make sure it's being distributed evenly to all the outlet ports. If there are any issues with the flow, you might need to adjust the settings or check for blockages in the pipes.
Step 7: Fine - Tuning and Maintenance
Once the test run is successful, you can do some fine - tuning. You might need to adjust the speed of the motor to optimize the material distribution. Refer to the user manual for instructions on how to do this.
Also, don't forget about maintenance. Regularly clean the distributor to prevent the build - up of materials. Check the lubrication of the moving parts and replace any worn - out components as needed.
Now, let me tell you a bit about the different types of rotary distributors we offer. We have the TFPX Series Rotary Distributor, which is known for its high - efficiency and durability. It's suitable for a wide range of applications, from small - scale operations to large industrial plants.
If you're in the feed industry, our Rotary Distributor for Feed Machine is a great choice. It's designed to handle different types of feed materials and ensure even distribution, which is crucial for the quality of the feed.
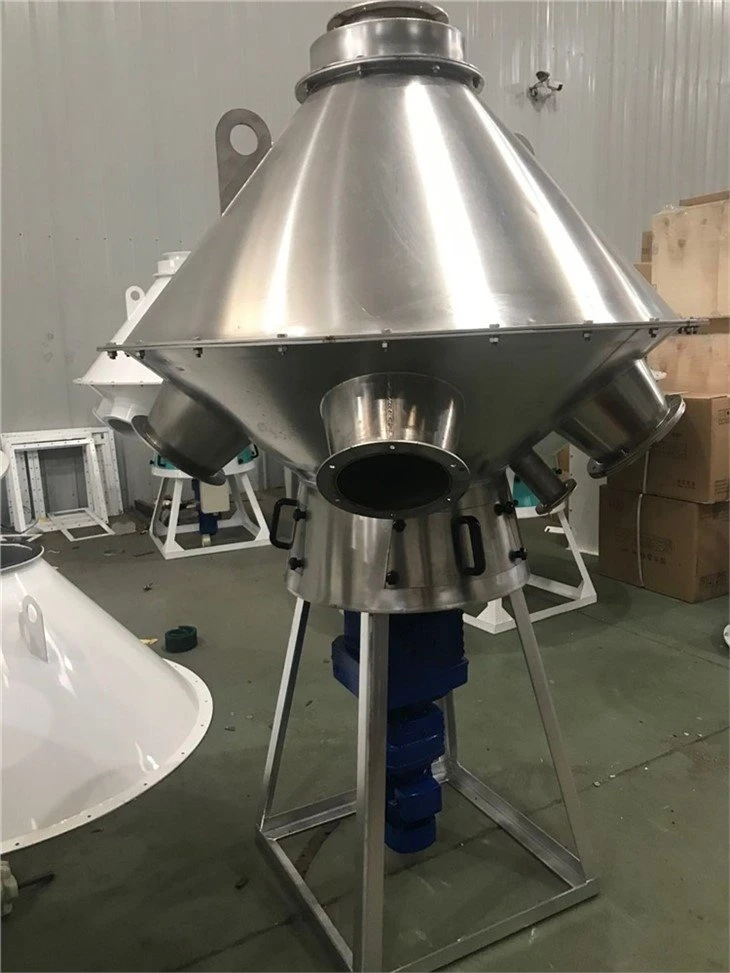
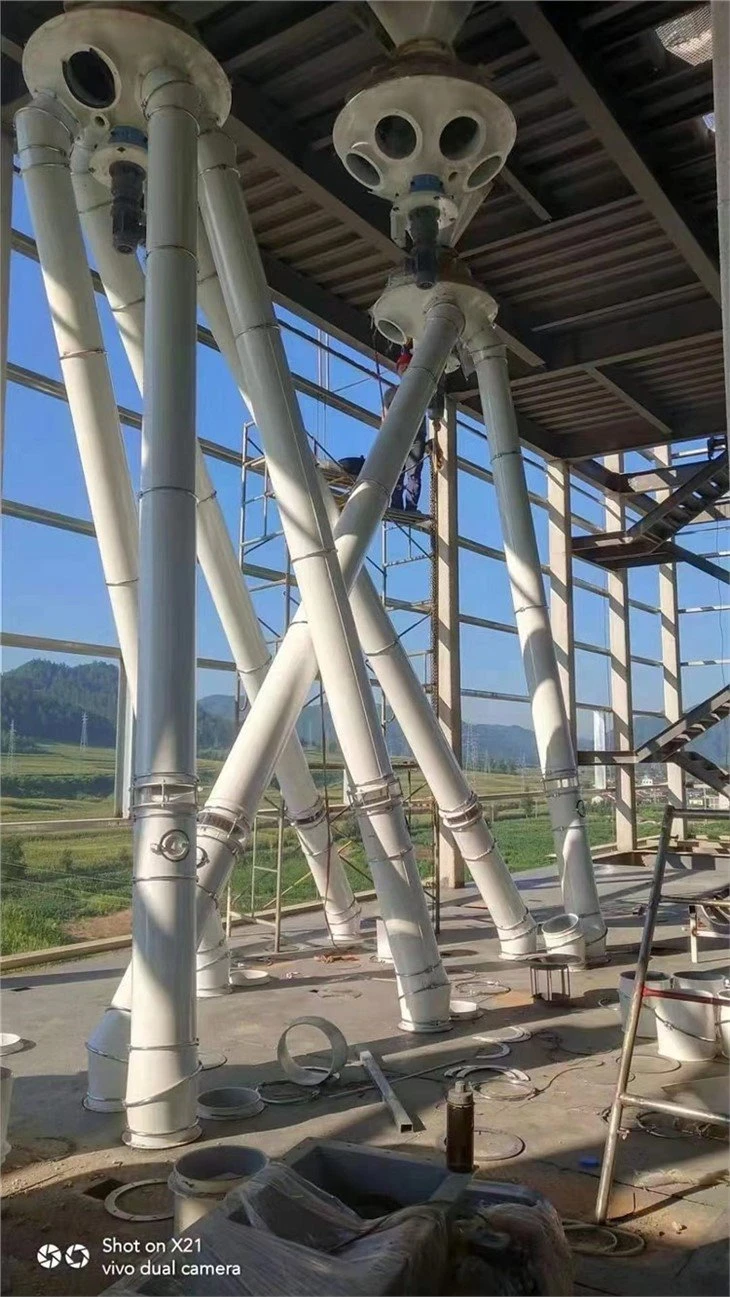
And for those who deal with powders, our Powder Rotary Distributor is the way to go. It's specifically engineered to handle fine powders without clogging or leakage.
If you're interested in purchasing a rotary distributor or have any questions about the installation process, don't hesitate to reach out to us. We're here to help you every step of the way. Whether you're a small business owner or a large corporation, we have the right solution for you.
References
- Manufacturer's user manual for rotary distributors
- Industry standards for installation of industrial equipment
So, that's all about the installation steps for a rotary distributor. I hope this blog post has been helpful to you. If you have any more questions, feel free to drop them in the comments below.