

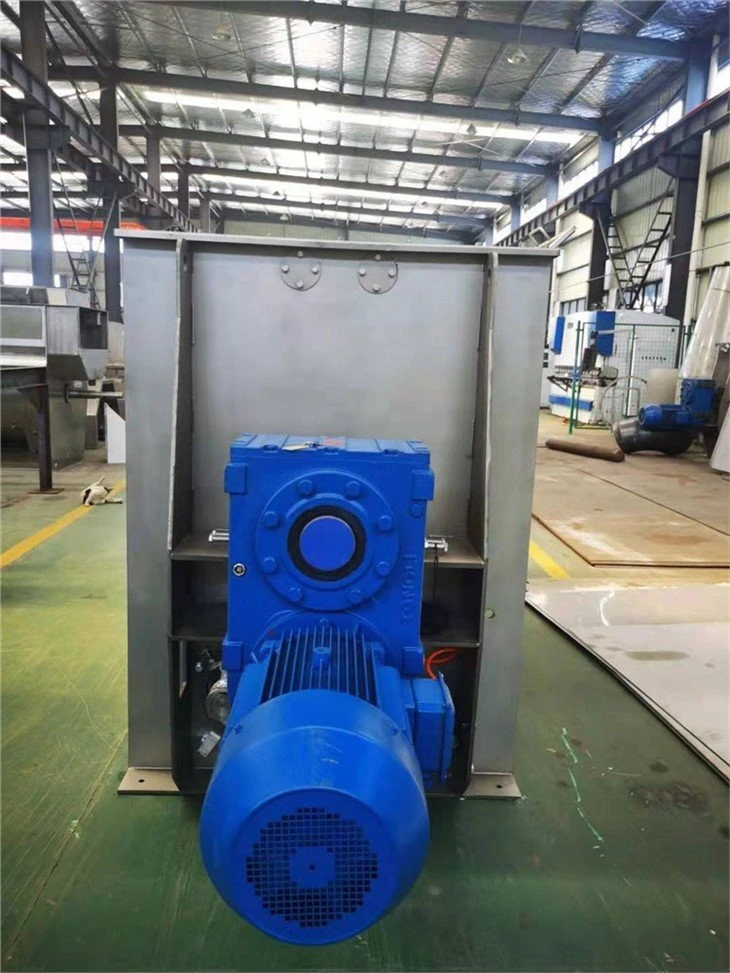
As a trusted supplier of Horizontal Mixer, I understand the importance of maintaining your equipment to ensure its optimal performance. One crucial aspect of mixer maintenance is the replacement of mixing blades. In this blog post, I'll guide you through the process of replacing the mixing blades of a horizontal mixer, sharing some valuable tips and insights along the way.
Understanding the Need for Blade Replacement
Before delving into the replacement process, it's essential to understand why blade replacement is necessary. Over time, mixing blades can wear out due to continuous use, friction, and exposure to various materials. Worn blades can lead to inefficient mixing, uneven distribution of ingredients, and even damage to the mixer itself. By replacing the blades regularly, you can ensure consistent mixing quality, extend the lifespan of your mixer, and avoid costly repairs down the line.
Preparing for Blade Replacement
Before you start replacing the mixing blades, it's crucial to take the necessary safety precautions. Make sure the mixer is turned off and unplugged to prevent any accidental startup. Wear appropriate personal protective equipment (PPE), such as gloves and safety glasses, to protect yourself from any potential hazards.
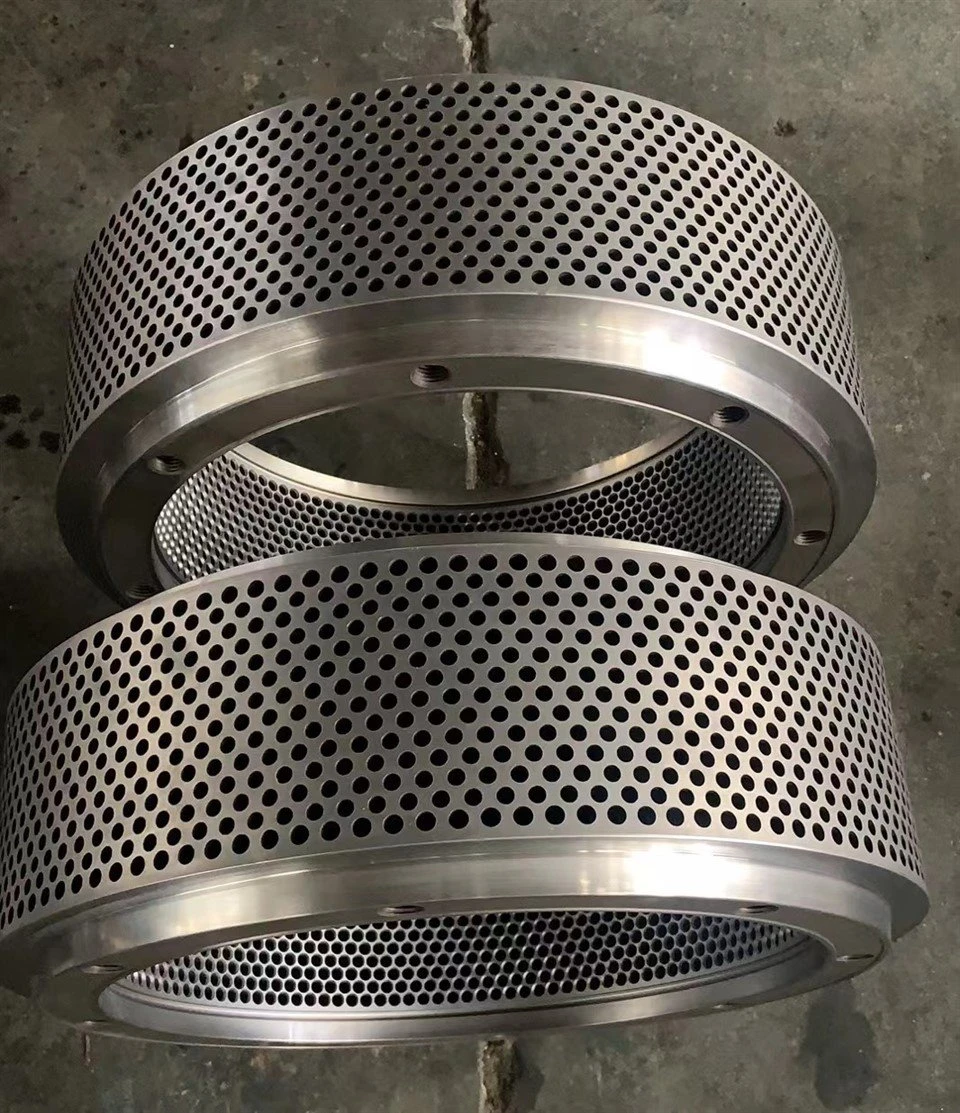
Next, gather all the tools you'll need for the replacement process. This may include a socket wrench, a screwdriver, a hammer, and a new set of mixing blades that are compatible with your horizontal mixer. You can find high-quality replacement blades from a reputable Pellet Die Manufacturer or directly from your mixer supplier.
Removing the Old Blades
The first step in replacing the mixing blades is to remove the old ones. Start by opening the mixer's access panel or door to gain access to the blades. Depending on the design of your mixer, the blades may be attached to the mixing shaft using bolts, screws, or other fasteners. Use the appropriate tool to loosen and remove these fasteners.
Once the fasteners are removed, carefully pull the old blades off the mixing shaft. Be mindful of any sharp edges or protrusions on the blades and handle them with care. If the blades are stuck, you may need to use a hammer or a pry bar to gently loosen them. However, be careful not to damage the mixing shaft or any other components of the mixer.
Inspecting the Mixing Shaft and Other Components
While the old blades are removed, take the opportunity to inspect the mixing shaft and other components of the mixer for any signs of wear or damage. Look for any cracks, bends, or excessive wear on the shaft, as well as any loose or damaged fasteners. If you notice any issues, it's important to address them before installing the new blades.
If the mixing shaft is damaged, it may need to be repaired or replaced. In some cases, you may be able to repair minor damage using a metal file or a grinder. However, for more severe damage, it's best to consult a professional technician or your mixer supplier for advice.
Installing the New Blades
Once you've inspected the mixing shaft and other components and addressed any issues, it's time to install the new blades. Start by aligning the new blades with the slots or holes on the mixing shaft. Make sure the blades are properly seated and that the fastener holes are aligned.
Insert the fasteners through the holes in the blades and the mixing shaft, and tighten them securely using the appropriate tool. Be careful not to overtighten the fasteners, as this can damage the blades or the mixing shaft. Follow the manufacturer's recommendations for the proper torque settings.
Testing the Mixer
After installing the new blades, it's important to test the mixer to ensure that it's working properly. Turn on the mixer and let it run for a few minutes to make sure the blades are rotating smoothly and that there are no unusual noises or vibrations. Check the mixing quality by adding a small amount of material to the mixer and observing how it's being mixed.
If you notice any issues during the test run, such as uneven mixing or excessive noise, stop the mixer immediately and inspect the blades and other components for any problems. Make any necessary adjustments or repairs before continuing to use the mixer.
Tips for Maintaining Your Mixing Blades
To ensure the longevity and optimal performance of your mixing blades, it's important to follow these tips for maintenance:
- Clean the blades regularly: After each use, clean the mixing blades thoroughly to remove any residue or debris. Use a mild detergent and a soft brush to clean the blades, and rinse them with water. Make sure the blades are completely dry before storing them.
- Lubricate the blades: Depending on the type of mixer and the materials you're mixing, you may need to lubricate the mixing blades periodically. Use a high-quality lubricant that is compatible with the materials you're using, and apply it to the blades according to the manufacturer's recommendations.
- Inspect the blades regularly: Regularly inspect the mixing blades for any signs of wear or damage. Look for any cracks, bends, or excessive wear on the blades, as well as any loose or damaged fasteners. If you notice any issues, replace the blades immediately.
- Store the blades properly: When not in use, store the mixing blades in a clean, dry place. Make sure the blades are protected from any potential damage, such as scratches or dents.
Conclusion
Replacing the mixing blades of a horizontal mixer is a relatively straightforward process that can be done by anyone with basic mechanical skills. By following the steps outlined in this blog post and taking the necessary safety precautions, you can ensure that your mixer is operating at its best and that you're getting the most out of your investment.
If you have any questions or need further assistance with replacing the mixing blades of your horizontal mixer, or if you're interested in purchasing a new SLHY Horizontal Mixer or replacement parts, please don't hesitate to contact us. Our team of experts is always ready to help you find the right solution for your needs.
References
- Manufacturer's manual for your horizontal mixer
- Industry standards and best practices for mixer maintenance